Designing for Digital Fabrication - Midterm pt 1.
 - October 18, 2018
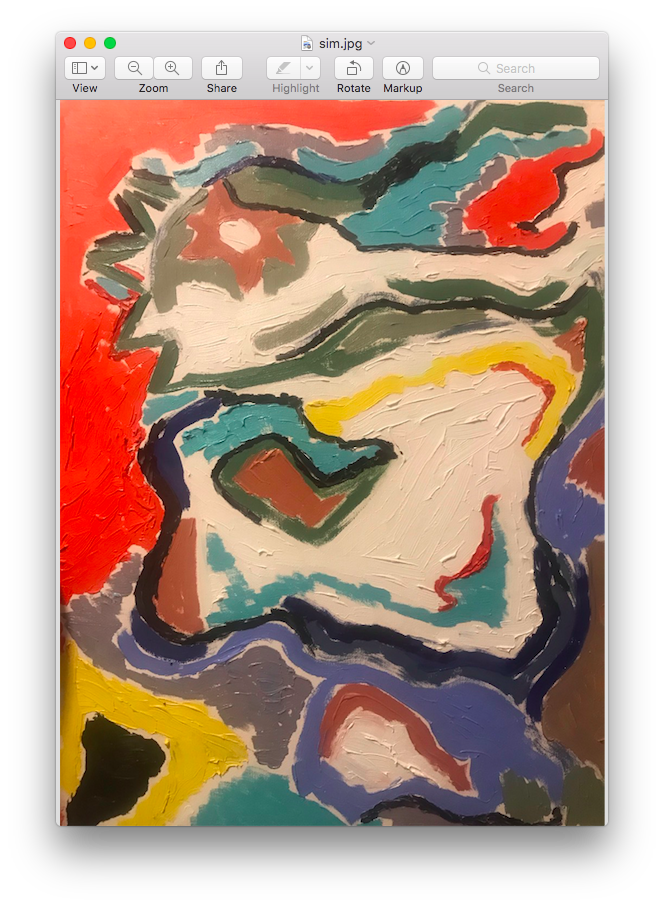
Ask proposed for the midterm project I have been working on replicating an oil painting into a mosaic picture. The idea was to take an already existing image and run it through processing sketch that turns the pixels into tiles. These tiles would be located in a grid system similar to the image below.
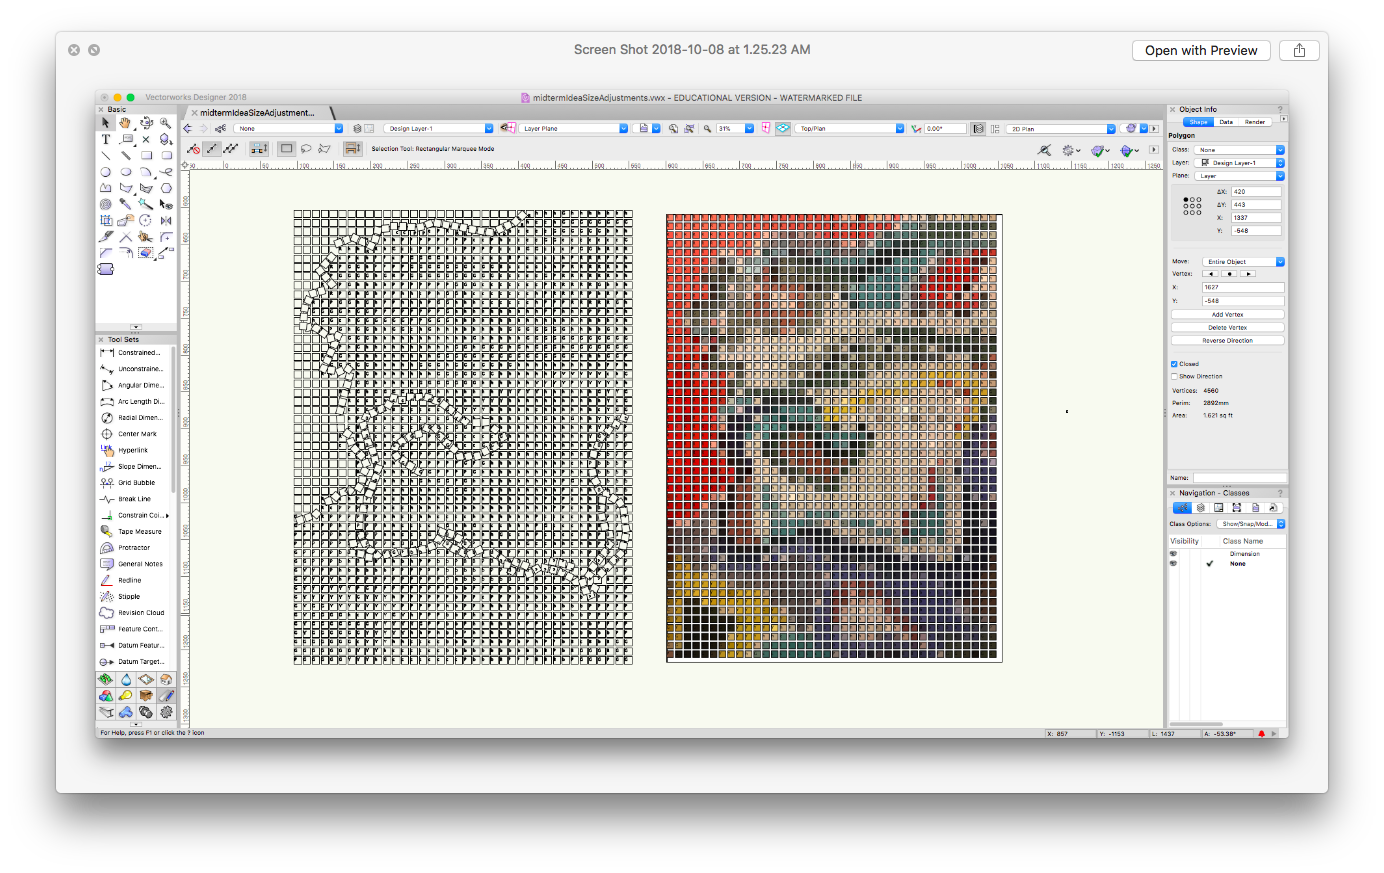
Original image:
After running the tile sketch:
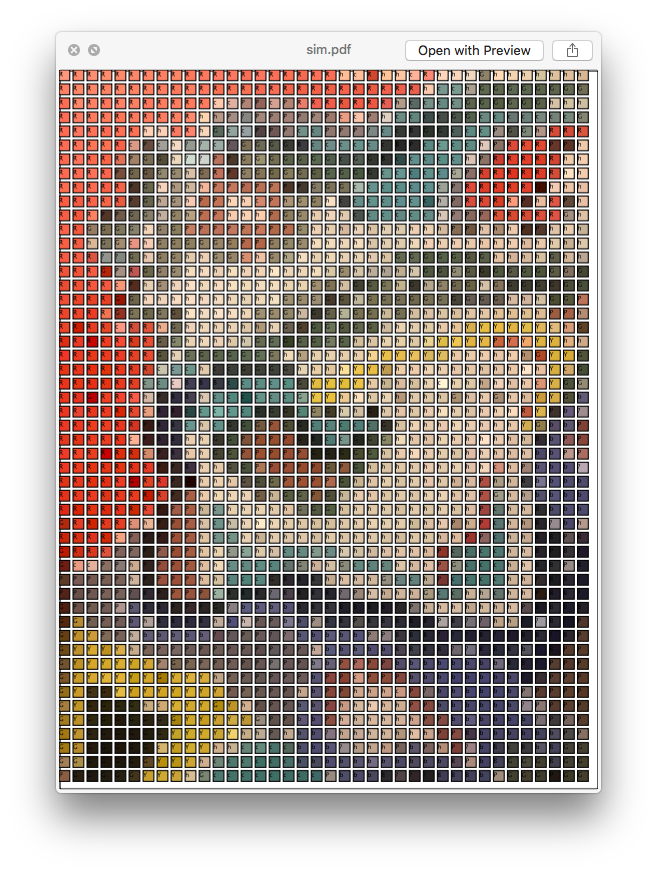
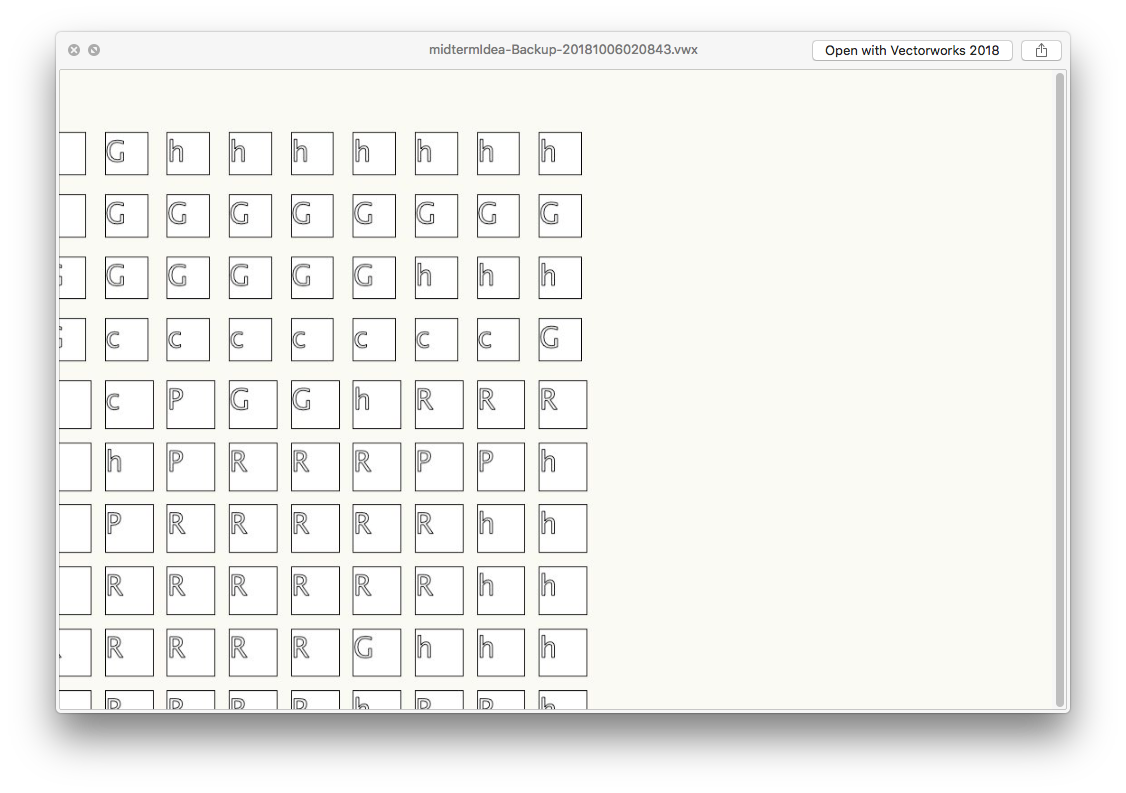
This same program would do color-detection to determine the color of the tile. Since colors do not get transferred into VectorWorks - the program would provide a letter in each tile indicating the color of it to help in with color placement later (Before this I had decided on 9 colors I wanted to split the image into)
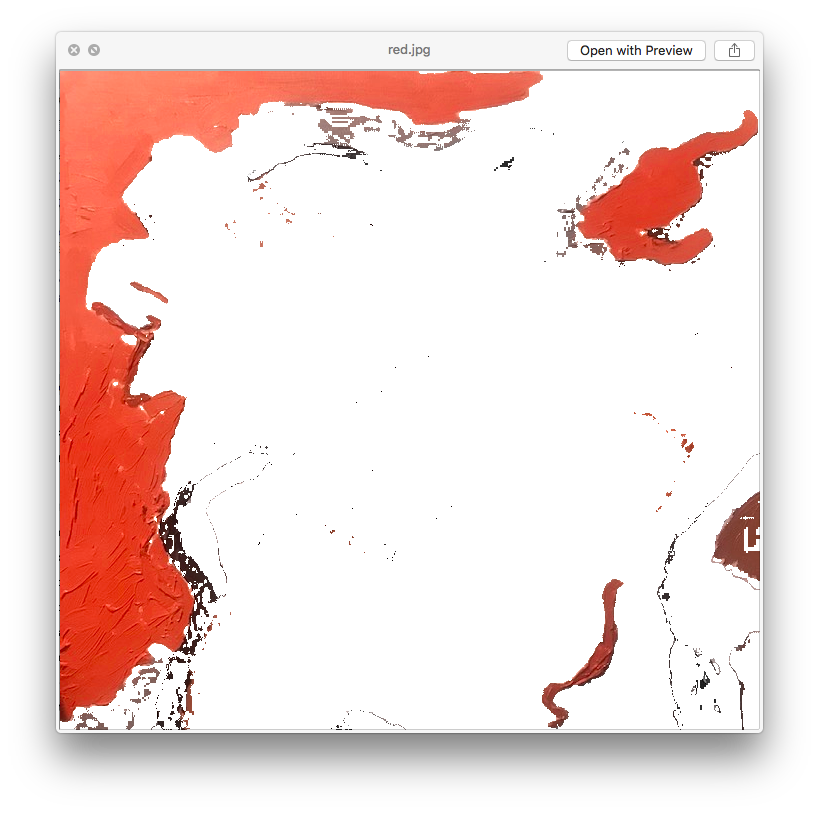
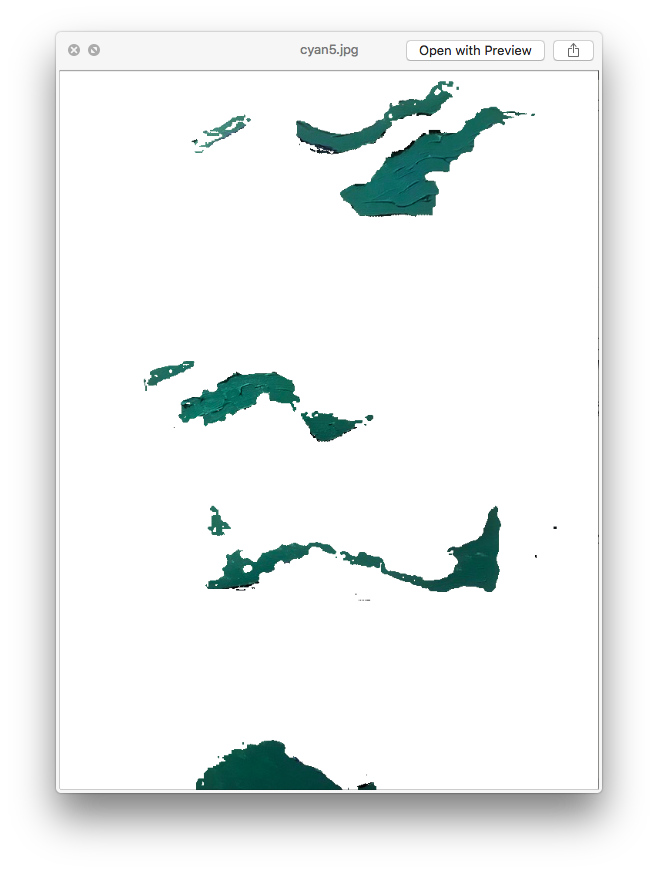
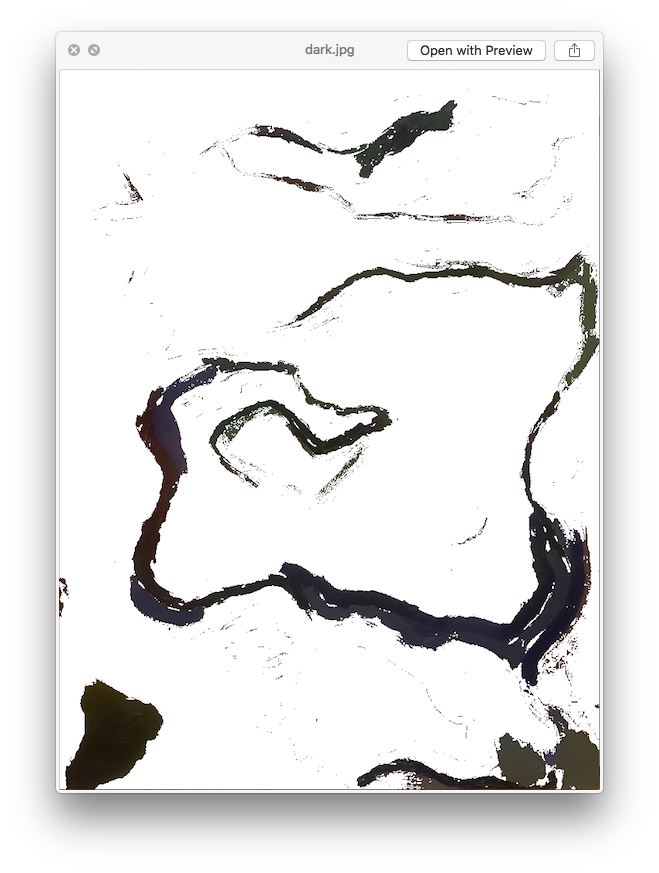
In order to break up the grid system I decided to choose certain areas/colors from the image and get their contour. This was done with several of the “bigger” defining lines of the image. Here are examples of extracting red, cyan and the dark colors.
red:
cyan:
dark:
The contour of these areas/colors were then transported into Vectorworks for further manipulation. By using the polygon fill function I would get a polygon shaped like the inside of the contour. See image:
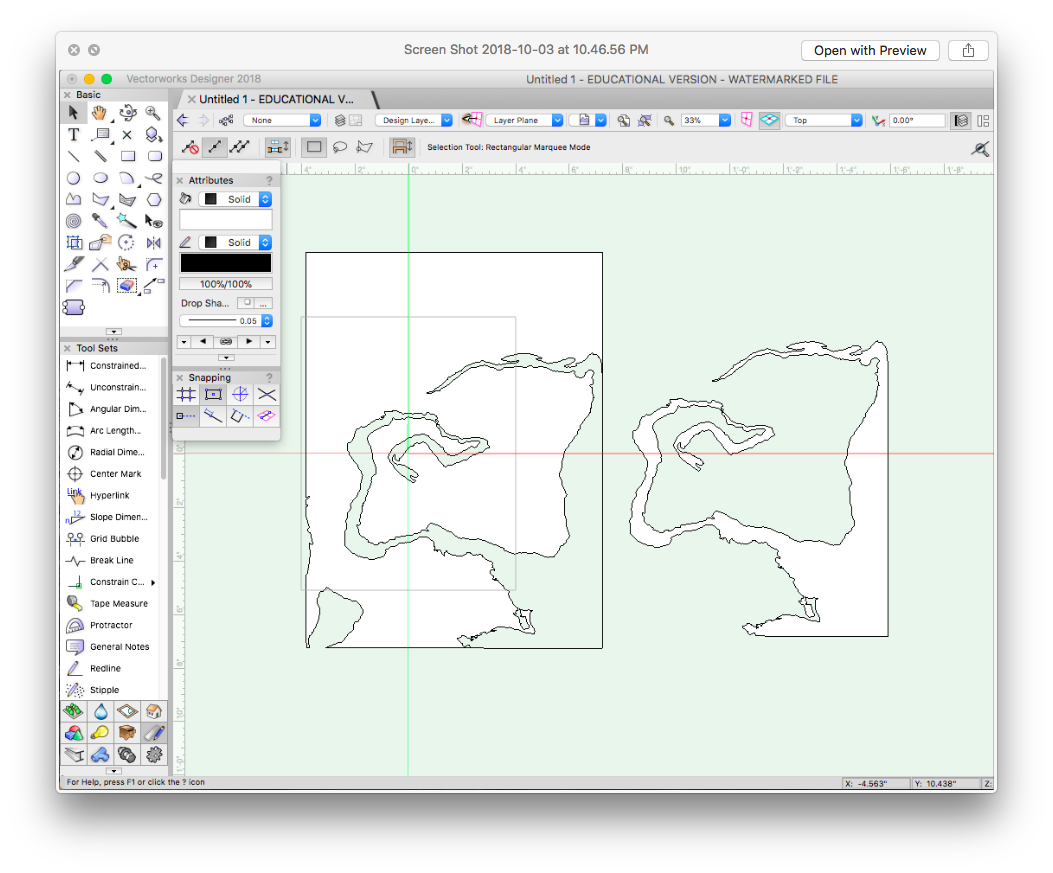
I could then use the “duplicate along path” to create tiles of the right size (9mm x 9mm) along the path of the shape. The intention was to get a shape similar to the original contour - but instead of lines, it would be created of squares. In order for this to work well I had to do some “polysmoothing” in VectorWorks. Also, the “duplicate along path” would place tiles on the line of the polygon. This would make the shape bigger than the original one - so I had to minimize the polygonshape by half of the tile - so that when the tiles were placing along the edge - I would have the size of the original polygon.

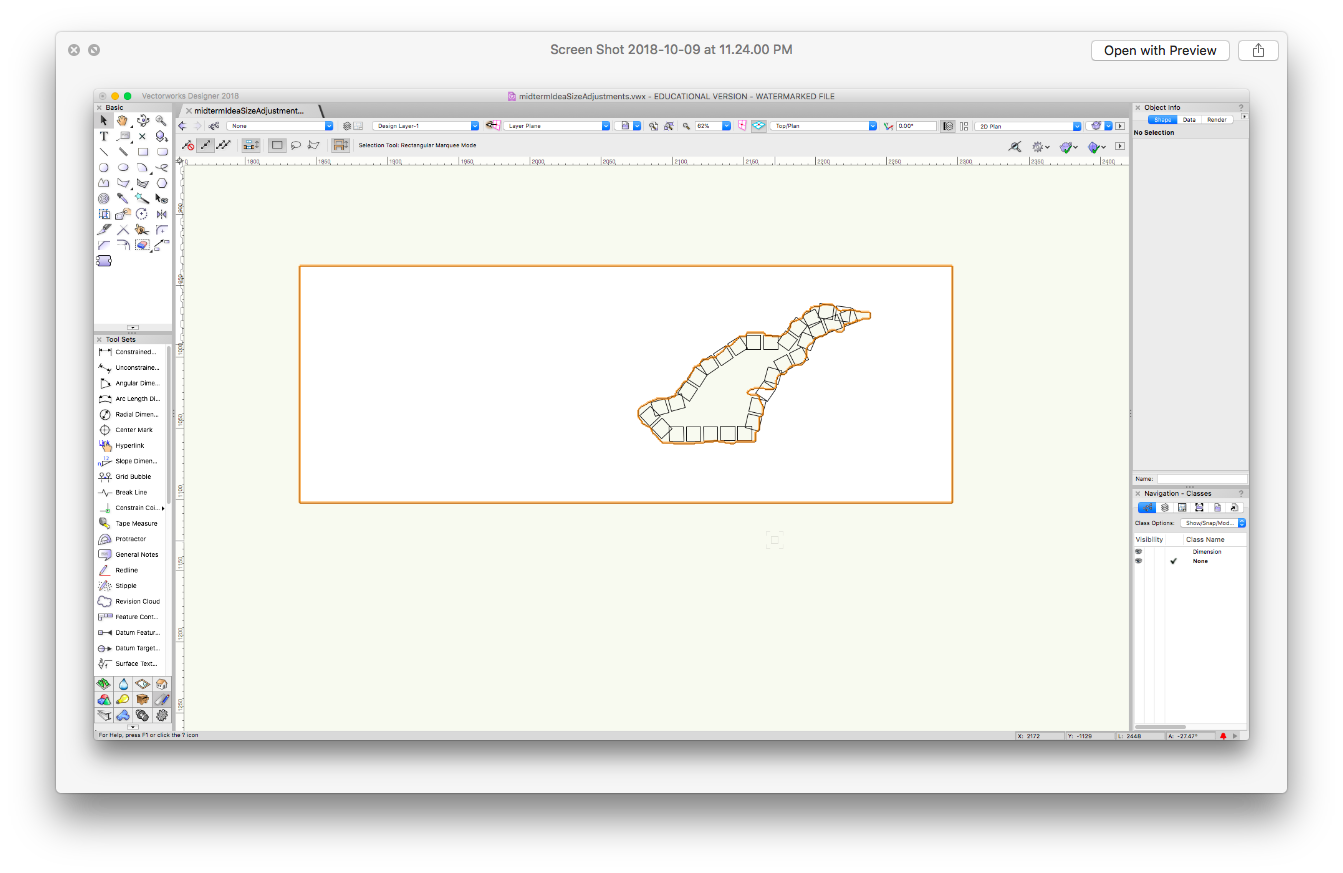
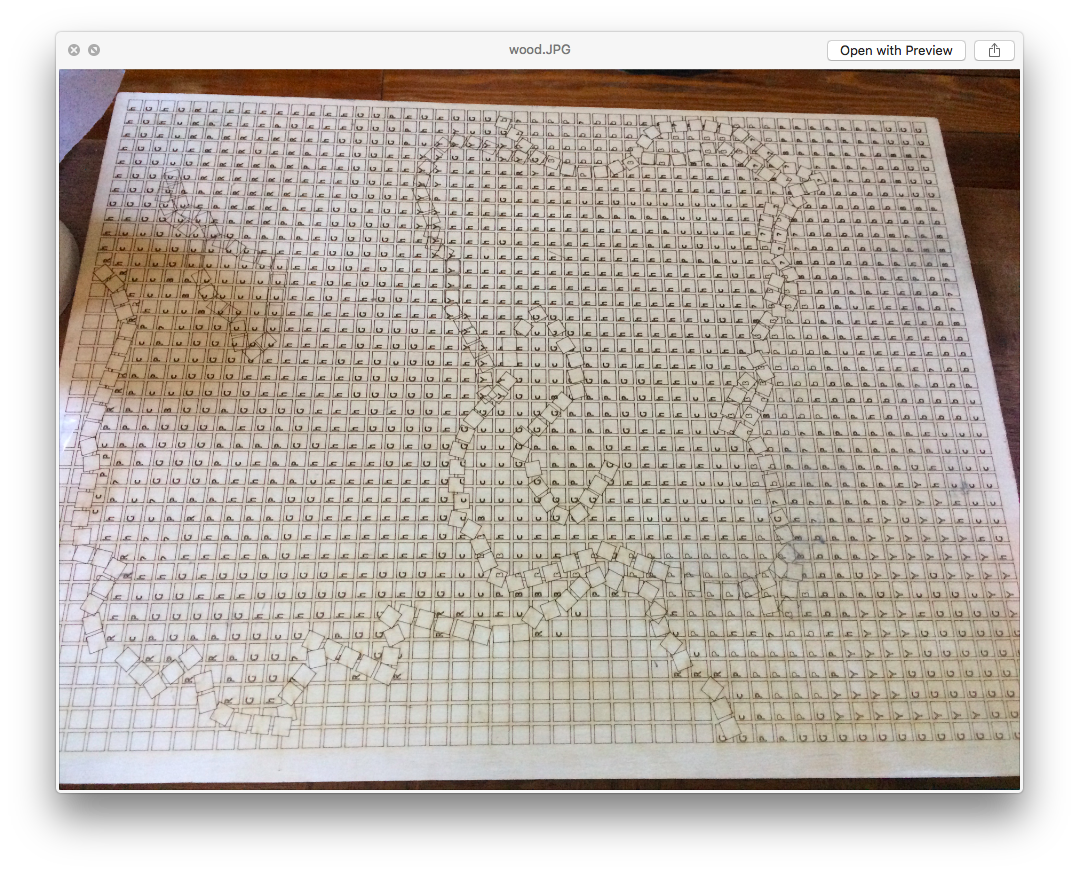
With this done I could place the “tile-contour” over the grid and get my final instruction regarding tile placement in a manner similar to this.
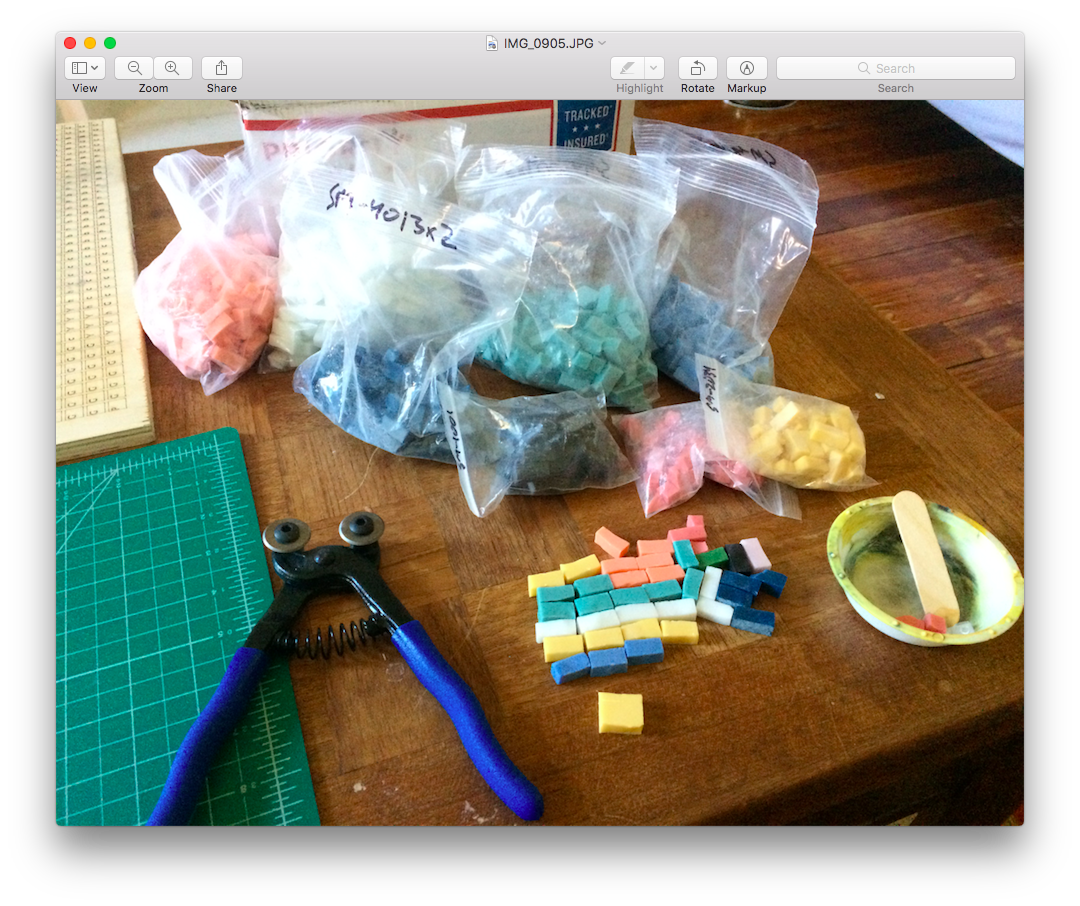
These instructions were etched into a wooden panel to which I would glue my smalti mosaic glass tiles ordered from this mosaic store.
The tiles came in a rectangular shape so I would also need a glass cutter to separate the tiles into to rectangular shapes.
The setup looked like this:
After cutting the glass I would glue them on one by one using epoxy glue. The progressing was slower than I though. These images show the progression over the first few nights.
First night:
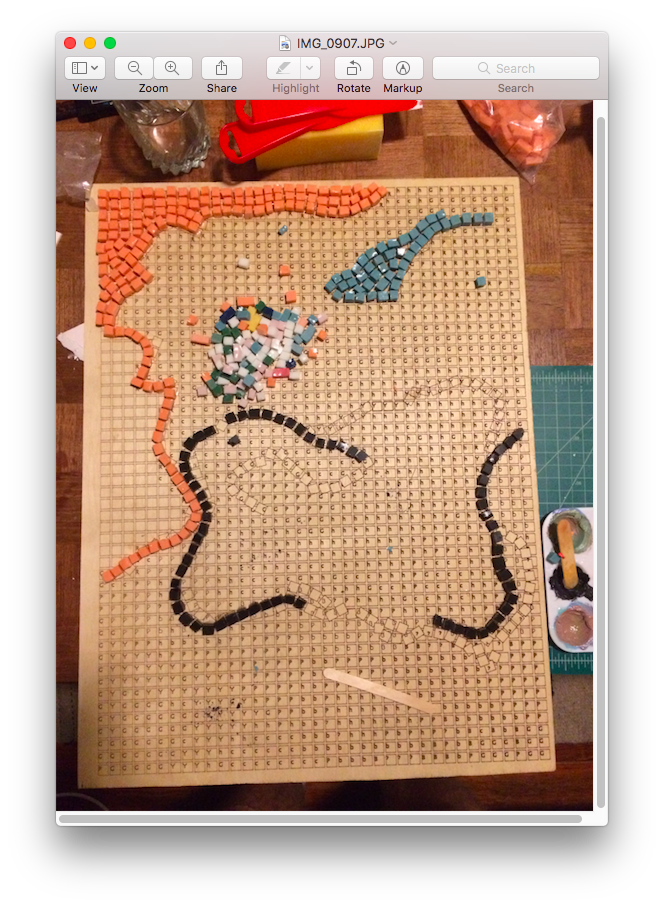
Second night:
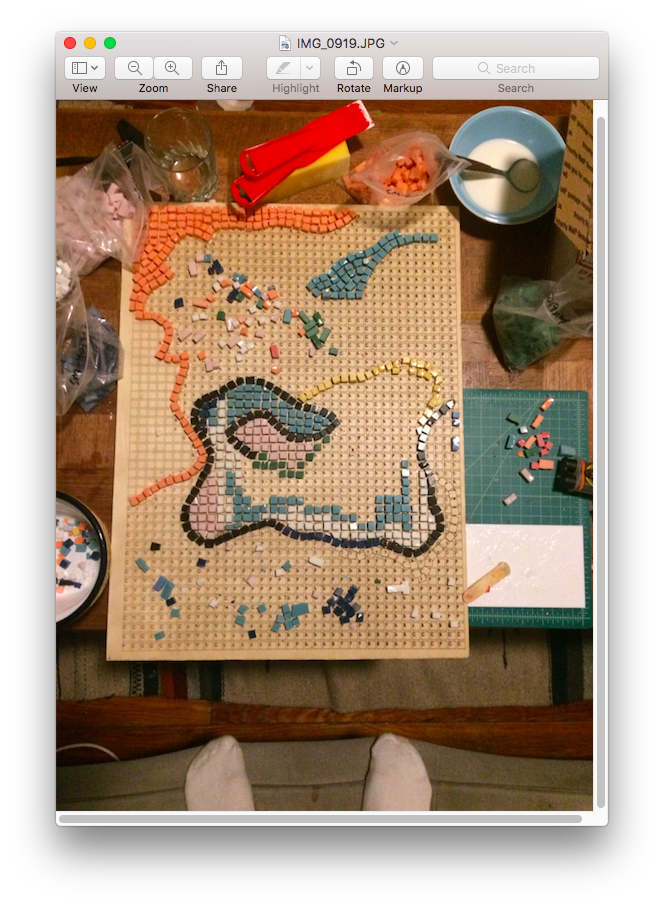
Third night:

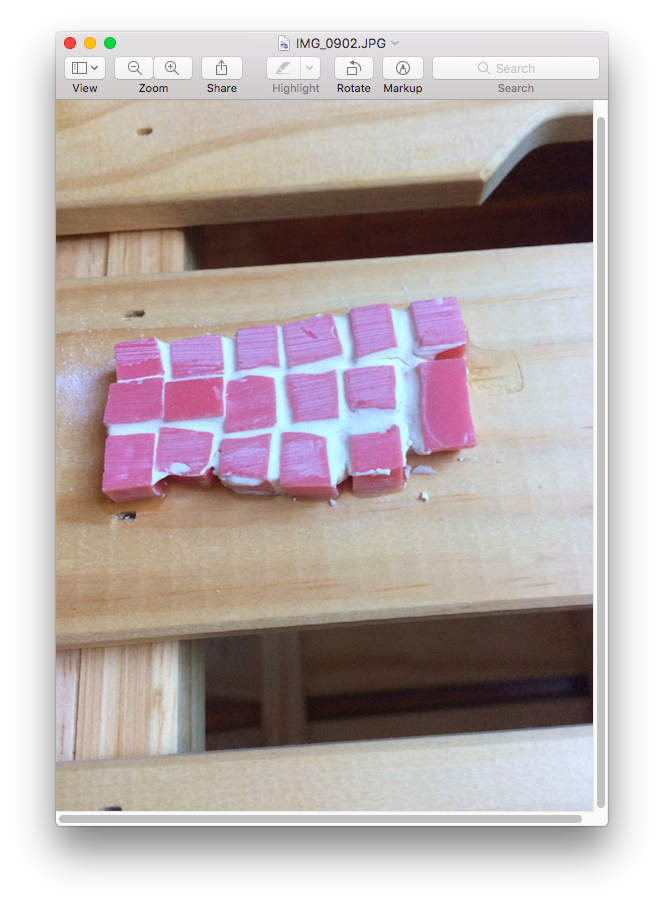
The final part now is glueing the last tiles to the panel. Which will probably take another few nights. After that I will add white grout to the spacing between the tiles. I did a rough sample that looks like this.